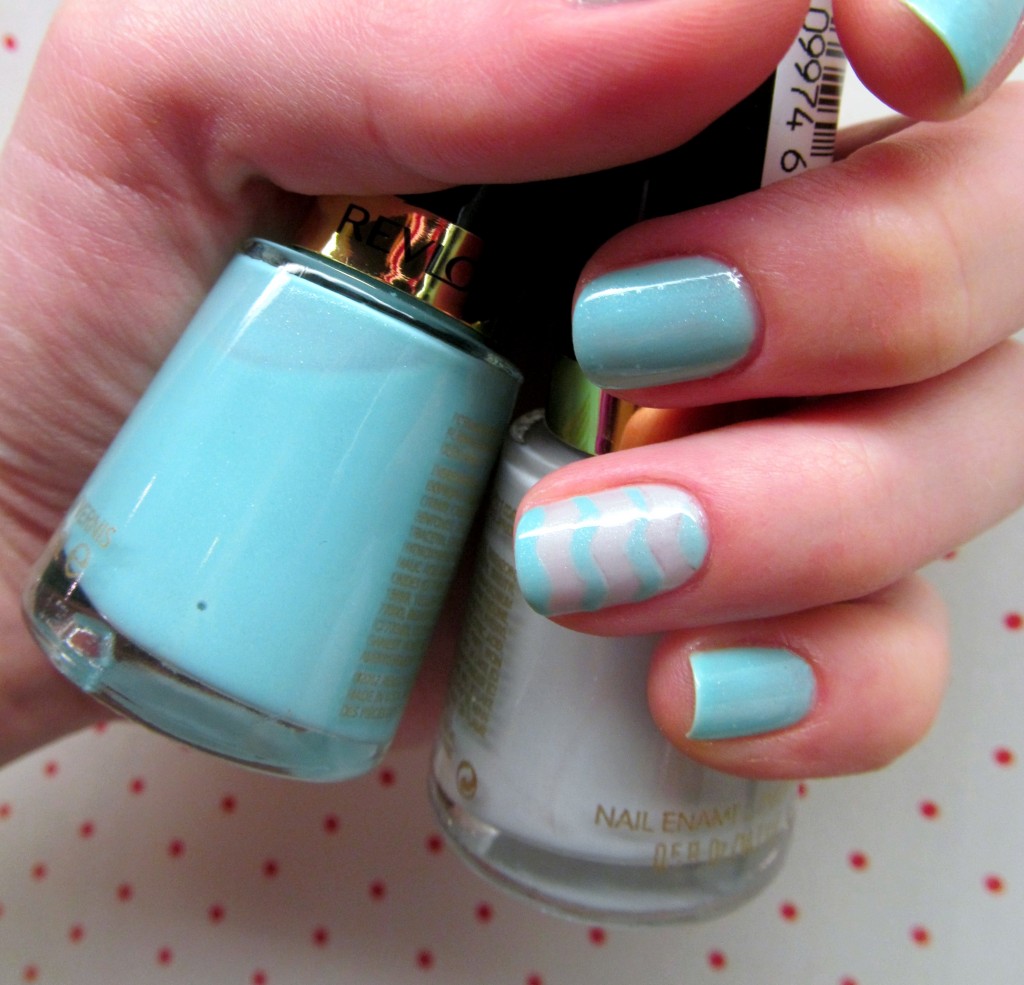
One look that I have always loved is chevron nails. They look great with tons of different colour combos (I personally love doing it with white chevrons and either a bright or pastel shade) and give your mani a lot of personality. I wanted to show you an easy way to nail this look (pun intended). The best part? Chances are you have just about everything you need at home.
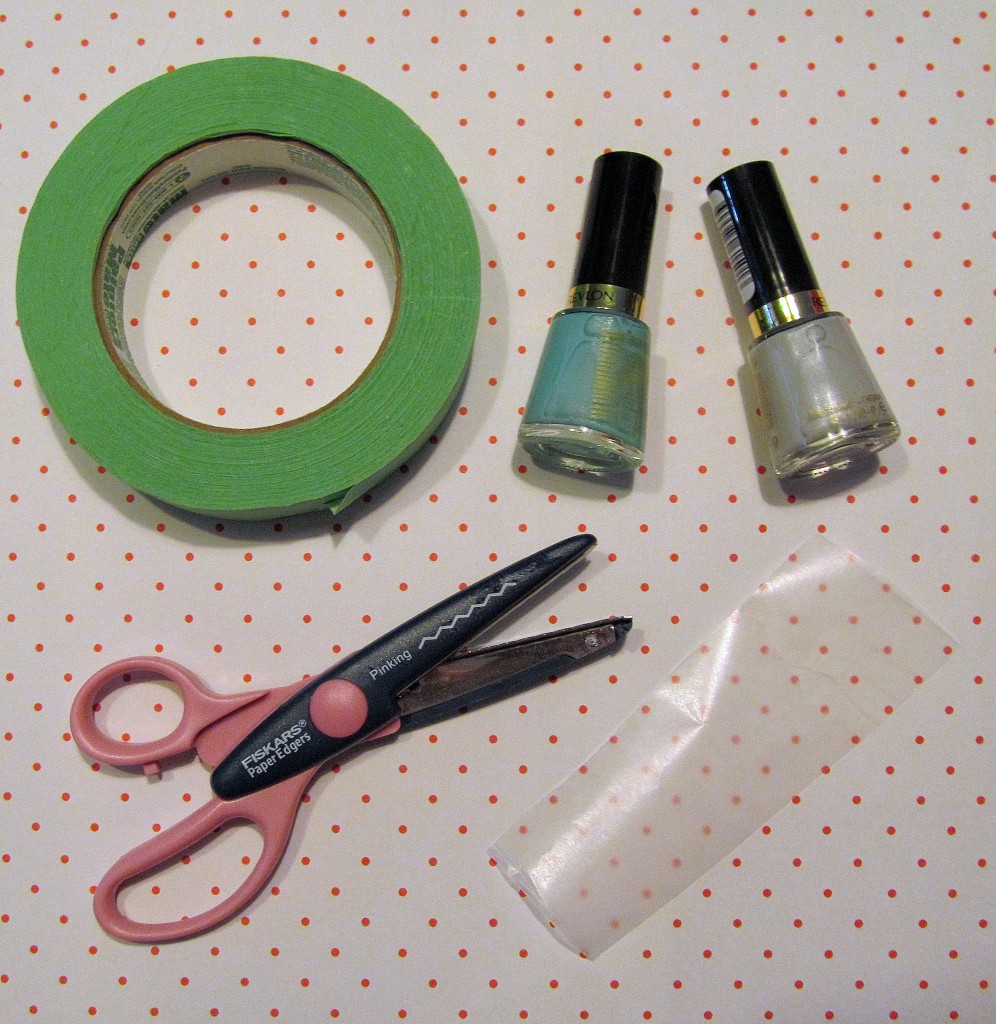
What you’ll need:
– 2 shades of polish (I used Revlon Nail Enamel in Cabana Queen and Coast is Clear)
– Wax paper
– Painter’s tape
– Pinking shears (I found this pair for $2 in the scrapbooking section at Walmart) – if you’re feeling ambitious, you can use regular scissors to cut out the pattern. And if you want to spice things up a little, pick up scrapbooking scissors with another neat design!
How to:
1. Start by painting your base colour on the fingers you want to apply the chevron design to. I chose Revlon Nail Enamel in Cabana Queen for the base on mine. Once this is done, find something to do for about an hour. You want to make sure the polish is really dry, or else you’re going to pull it up and mess it up when you use the tape.
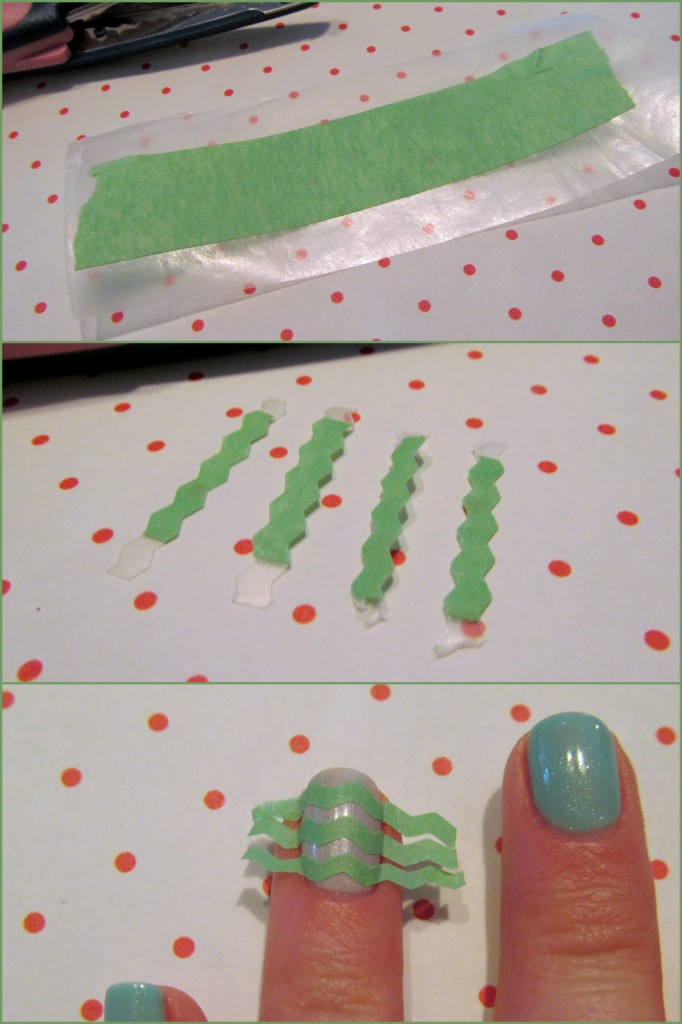
2. Attach a strip of painter’s tape to the wax paper. It will come off very easily and be easier to handle. Make sure you leave some wax paper on the side so that your strips will be easy to get a hold of.
3. Using the pinking shears, cut out thin, zig-zagged strips. Try to make the peaks line up from top to bottom so that it looks more uniform when applied.
4. Apply the strips to your nail, lining them up so the chevrons run together. Press down to make sure the tape is flush with the nail – you don’t want any polish sneaking underneath!
5. Apply your second polish to the nail, going over the strips, then peel the strips right off the nail. I wouldn’t wait too long to do this, or the polish will start to dry and it will be hard to keep the design!
6. Apply top coat over the design to lock it in.
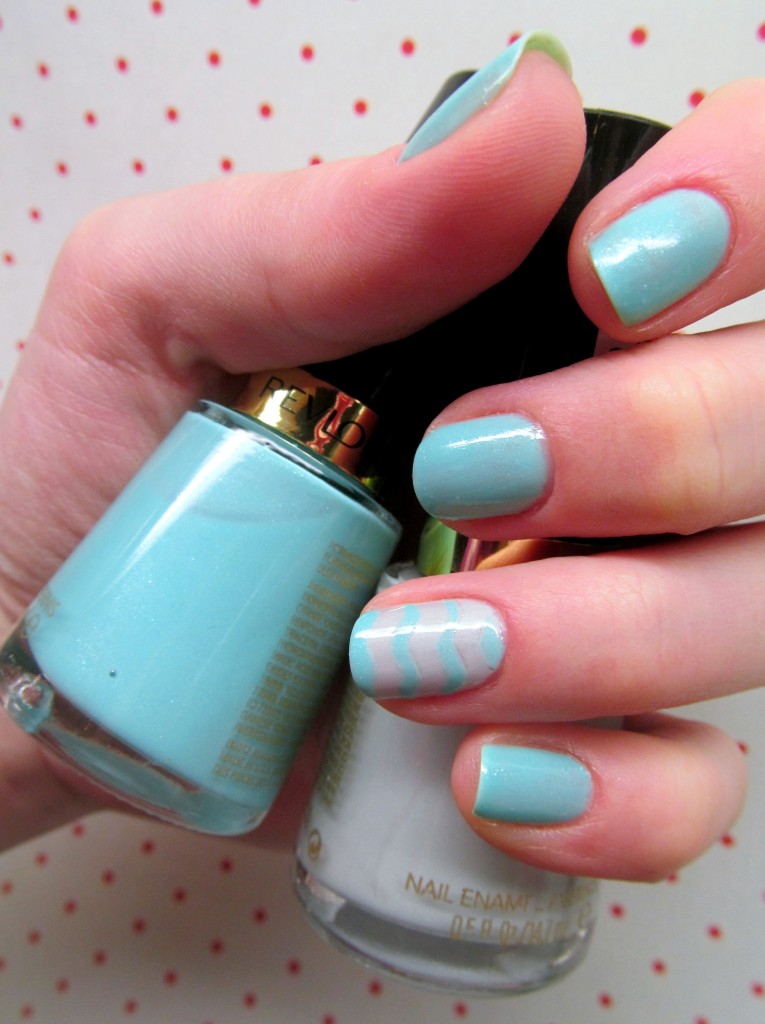
Ta-da! Fun chevron nails. Will you give this a try? What colour combos would you use for the perfect chevron mani?

