I’m going to go right out and say it – St. Patrick’s Day is one of my favourite days of the year. It’s right up there with Halloween and Christmas. And my birthday. Anyways, my love affair with St. Paddy’s blossomed when I was in university (go figure). My friends and I would go all out every year, making our own t-shirts and going all out clothing, accessory and decorating wise. Well, this definitely hasn’t changed and I thought I would bring some of the green spirit to the blog this year with a St. Patrick’s Day Nail Tutorial that’s not only super cute but extremely easy – no nail art skills needed for this one!
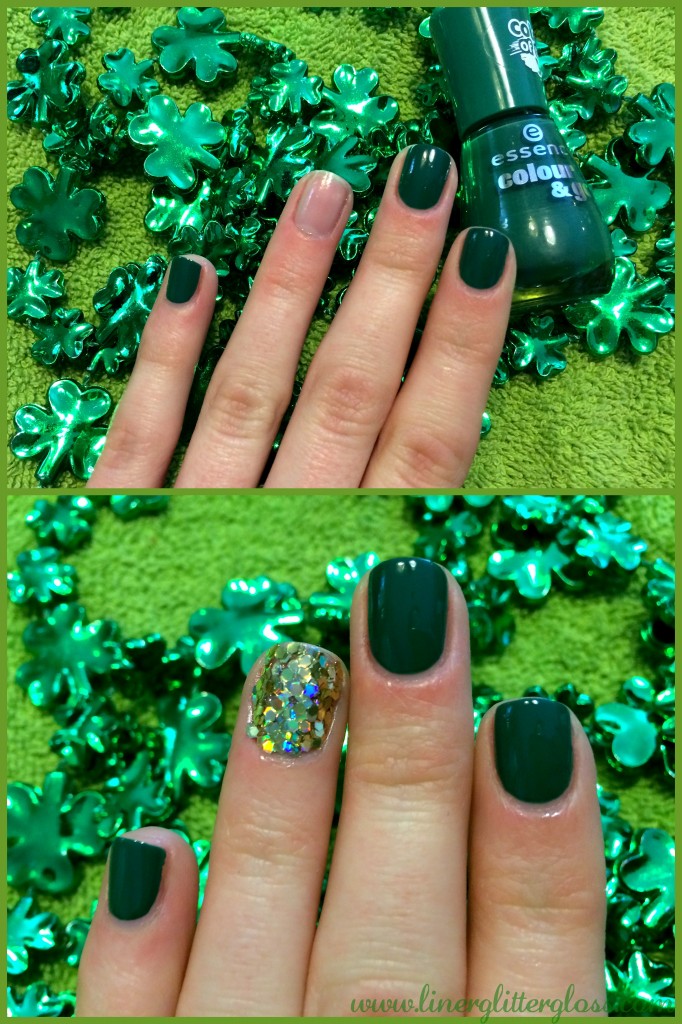
When I think of St. Paddy’s, visions of green and gold go rushing through my mind, so I thought I would take those two and throw them together for a mani that perfectly suits this fun day. I like to call it the Pot of Gold Mani, and I’m sure you can understand why!

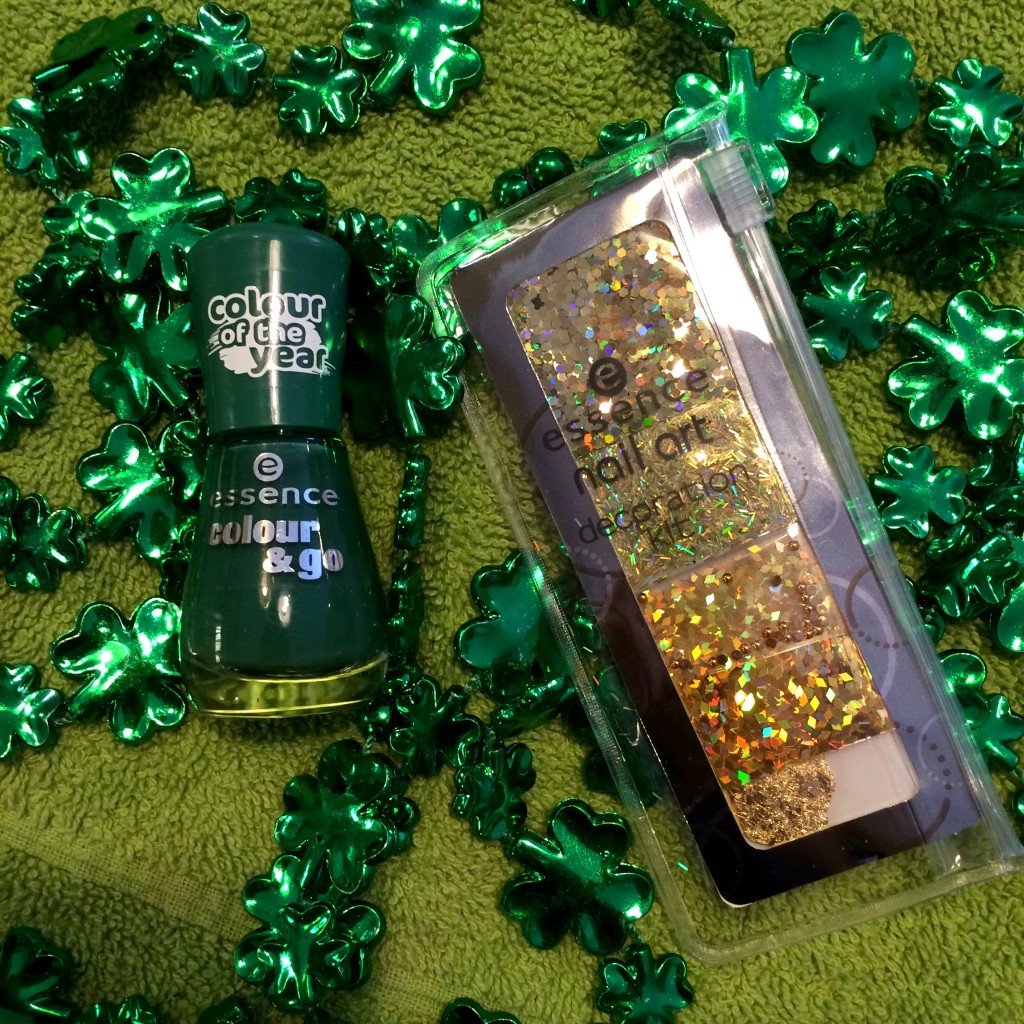
Products used:
- Essence Colour & Go Nail Polish in The Green & The Grunge
- Essence Nail Art Decoration Kit

How to:
- Start off by applying two coats of green polish to all of your nails except those you want to use for an accent (I usually go with my ring fingers). Seal with top coat.
- For the pot of gold accented nails, start off by applying one coat of any gold polish. You’re not going to see it but it helps in case of gaps between the glitter.
- Immediately after applying the polish (probably best to do one nail at a time), shake the glitter over the nail, covering it entirely. I went with the medium-sized round glitter included in the nail decoration kit.
- Give it a couple of minutes to dry, then brush or knock off any excess glitter that isn’t sticking or that falls off the edge of the nail.
- Once completely dry, apply a layer of top coat to lock the glitter in.
See? So easy and so perfect for St. Paddy’s! What do you think of my St. Patrick’s Day Nail Tutorial? Will you be celebrating with some green beer?

